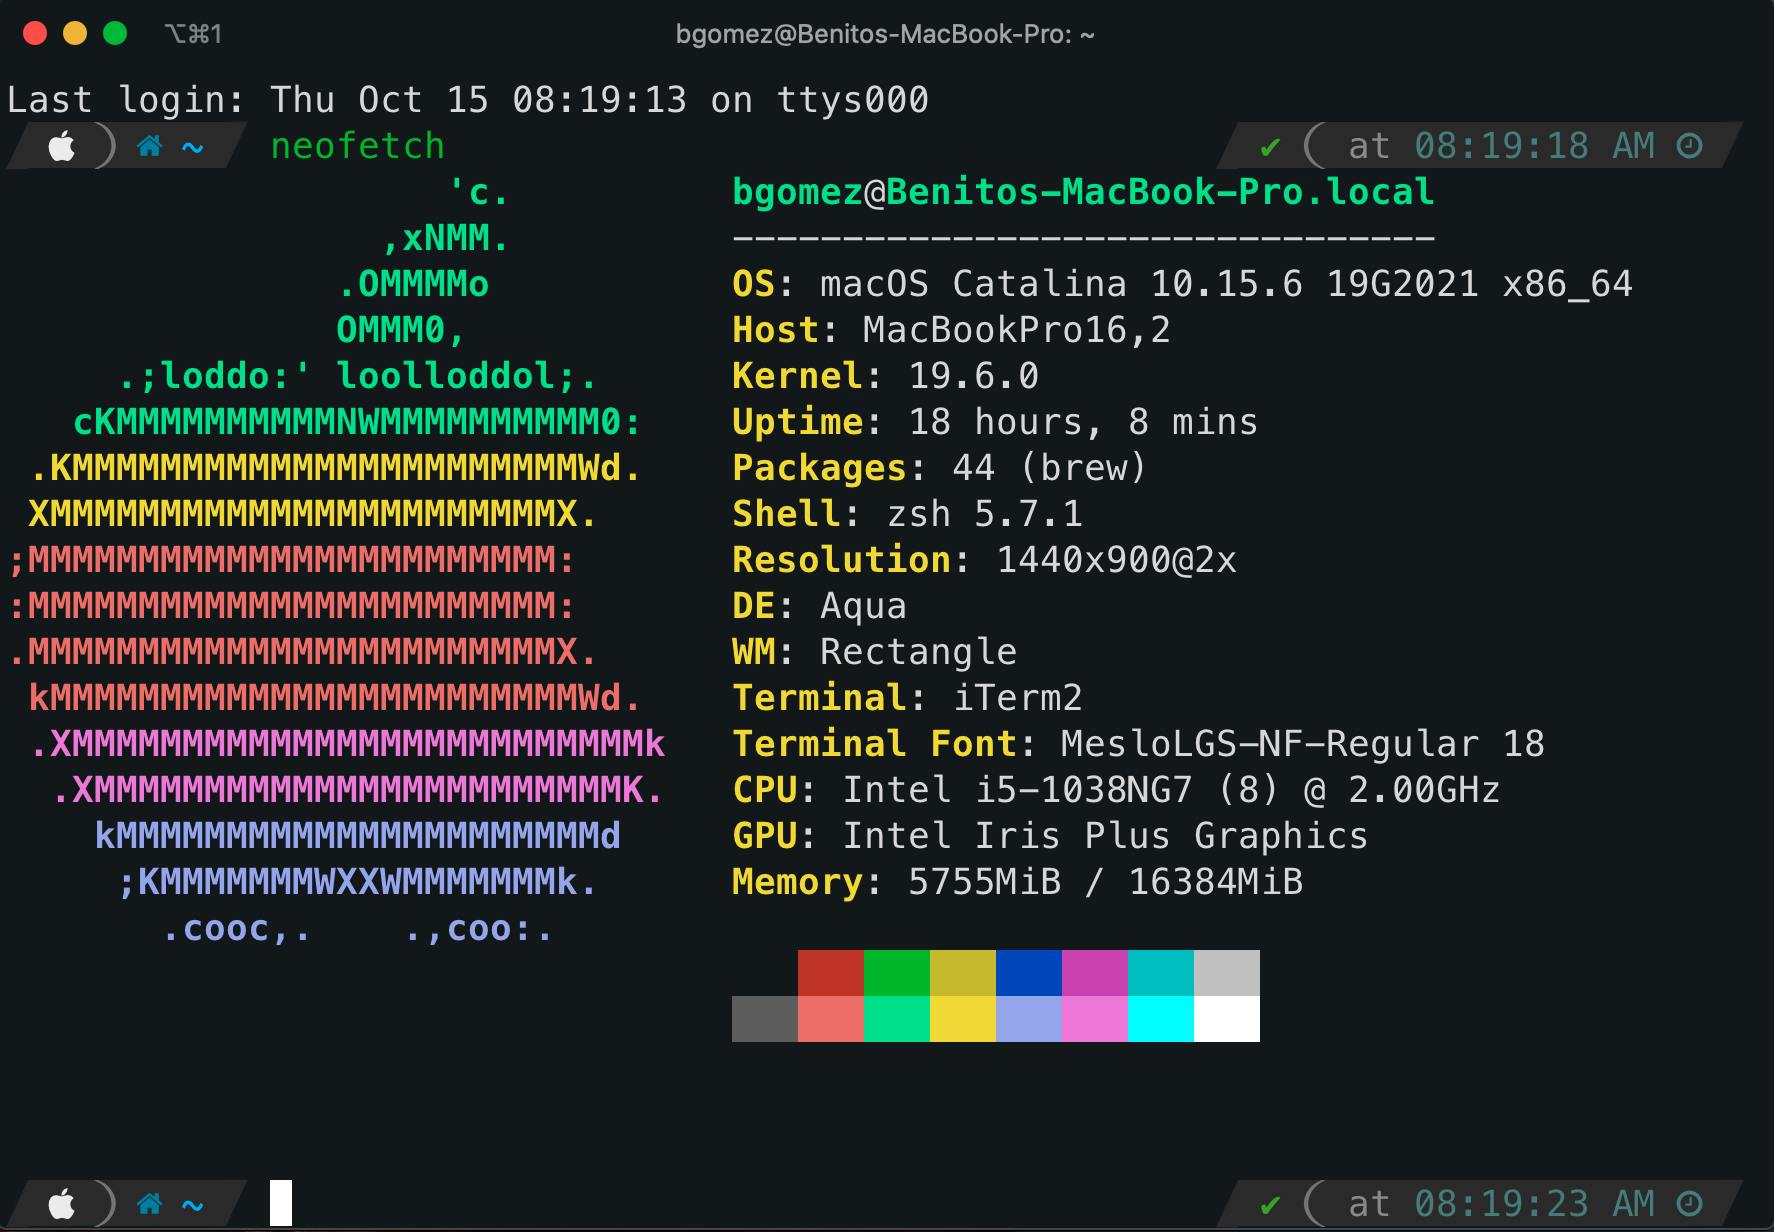
Customizing your terminal with oh my Zsh!(MacOS)


I'm running on Mac OS but oh my zsh is available for linux as well. You'll be able to customize your shell to include some nice icons in your prompt, syntax highlighting, and auto complete helper. In the end you will have a beautiful looking terminal with a custom prompt to express yourself!
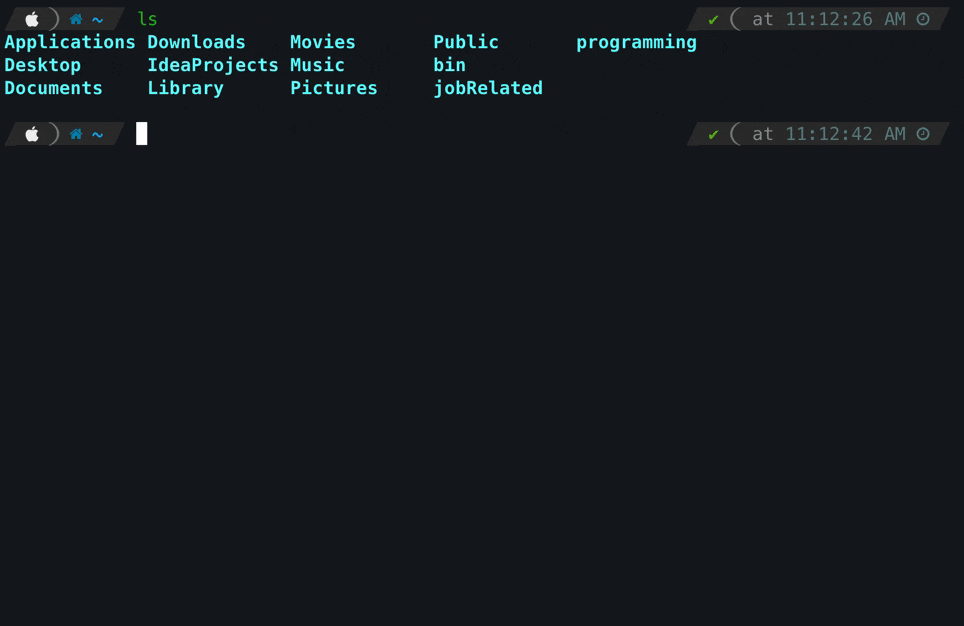
Notice the use of the alias: program to automatically cd into my projects folder. You get access to all kinds of nice shortcuts like a new keyword: take that will: mkdir, then cd into the created directory.
Step 1: Download homebrew
- Manual installation of Xcode Dependency or copy paste this into your terminal
xcode-select --install
- Homebrew - Homebrew installs the stuff you need that Apple (or your Linux system) didn’t. Copy paste the exact command below to install.
/bin/bash -c "$(curl -fsSL https://raw.githubusercontent.com/Homebrew/install/master/install.sh)
Step2: Download iTerm2
- iTerm2 = It works on Macs with macOS 10.12 or newer. iTerm2 brings the terminal into the modern age with features you never knew you always wanted.
brew cask install iterm2
From now on you can start using iTerm2 instead of your regular terminal.
Step 3: Install or upgrade Zsh
Now that you have iTerm lets upgrade or install zsh. Just run brew install zsh and done! Zsh has been upgraded.
brew install zsh
Step 4: Install oh my Zsh!
Now we install oh my Zsh to let you customize your shell with themes and plugins!
- oh my Zsh Run in your terminal
sh -c "$(curl -fsSL https://raw.githubusercontent.com/ohmyzsh/ohmyzsh/master/tools/install.sh)"
Afterward you should see a .zshrc file in your default directory after running
ls -a
Step 5: Install powerlevel10k theme(Optional)
oh my Zsh actually ships with many themes by default but I'd recommend installing powerlevel10k.
- PowerLevel10k Gives you some nice icons and lets you customize to whatever style you like. Run the following command in your default directory.
git clone --depth=1 https://github.com/romkatv/powerlevel10k.git ${ZSH_CUSTOM:-$HOME/.oh-my-zsh/custom}/themes/powerlevel10k
Step 6: Configuring powerlevel10k and oh my Zsh
After installing open the .zshrc file with your preferred editor. I use vscode but you can use nano or vi.
code .zshrc
Set powerlevel10k as your default theme.
ZSH_THEME="powerlevel10k/powerlevel10k"
Now restart iTerm and run p10k configure. When configuring with the wizard make sure you install Meslo Font and then restart iTerm before continuing so you can see the correct characters when customizing your prompt.
Extra plugins
oh my Zsh has all kinds of nice plugins that you can set with the following code in your .zshrc file.
plugins=(git zsh-syntax-highlighting vscode zsh-autosuggestions npm)
Some of them like zsh-syntax-highlighting don't come by default and may need to be downloaded. zsh-syntax-highlighting